

Mastering DIY Tile Installation
Introduction
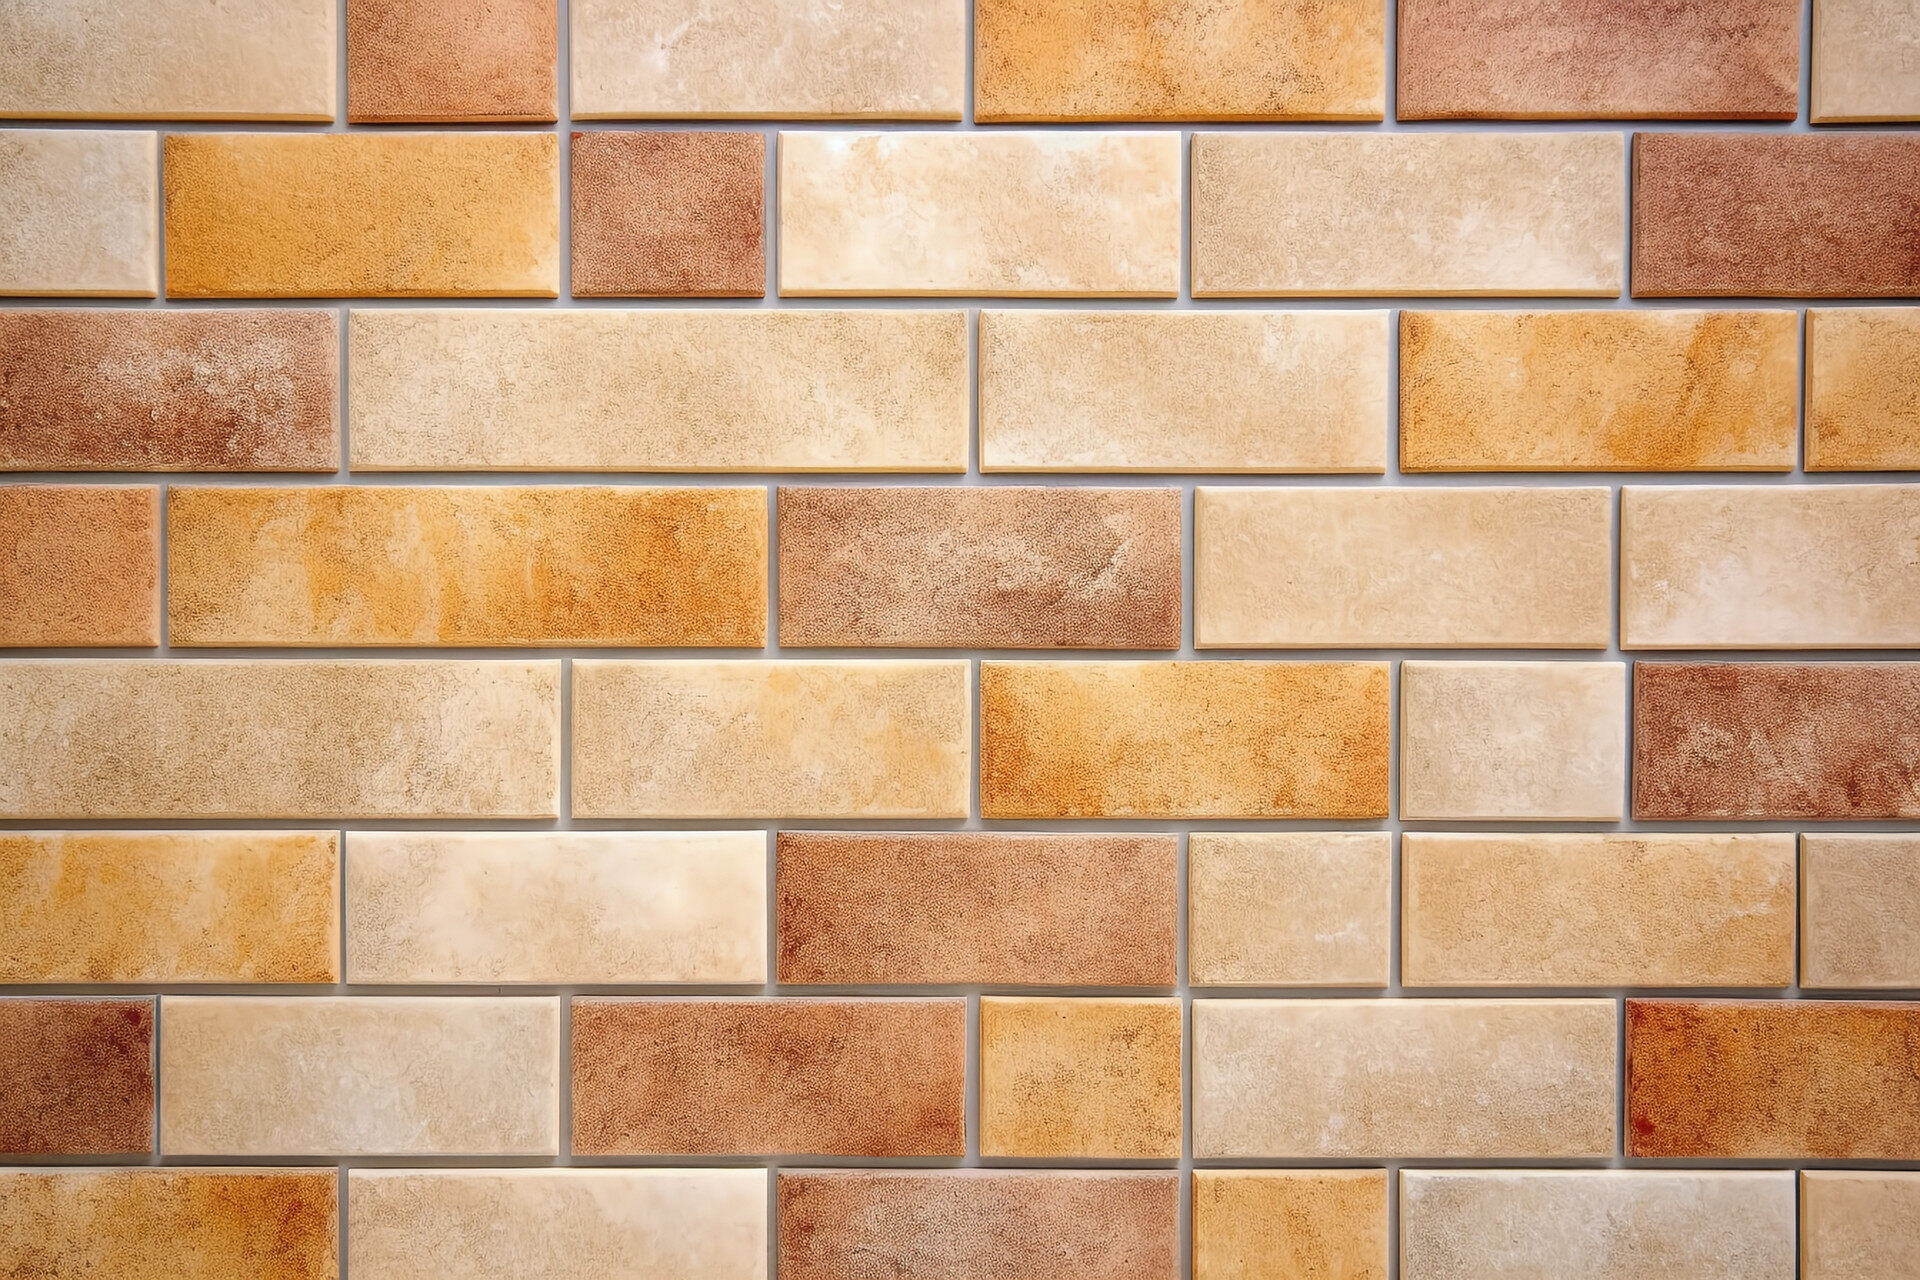
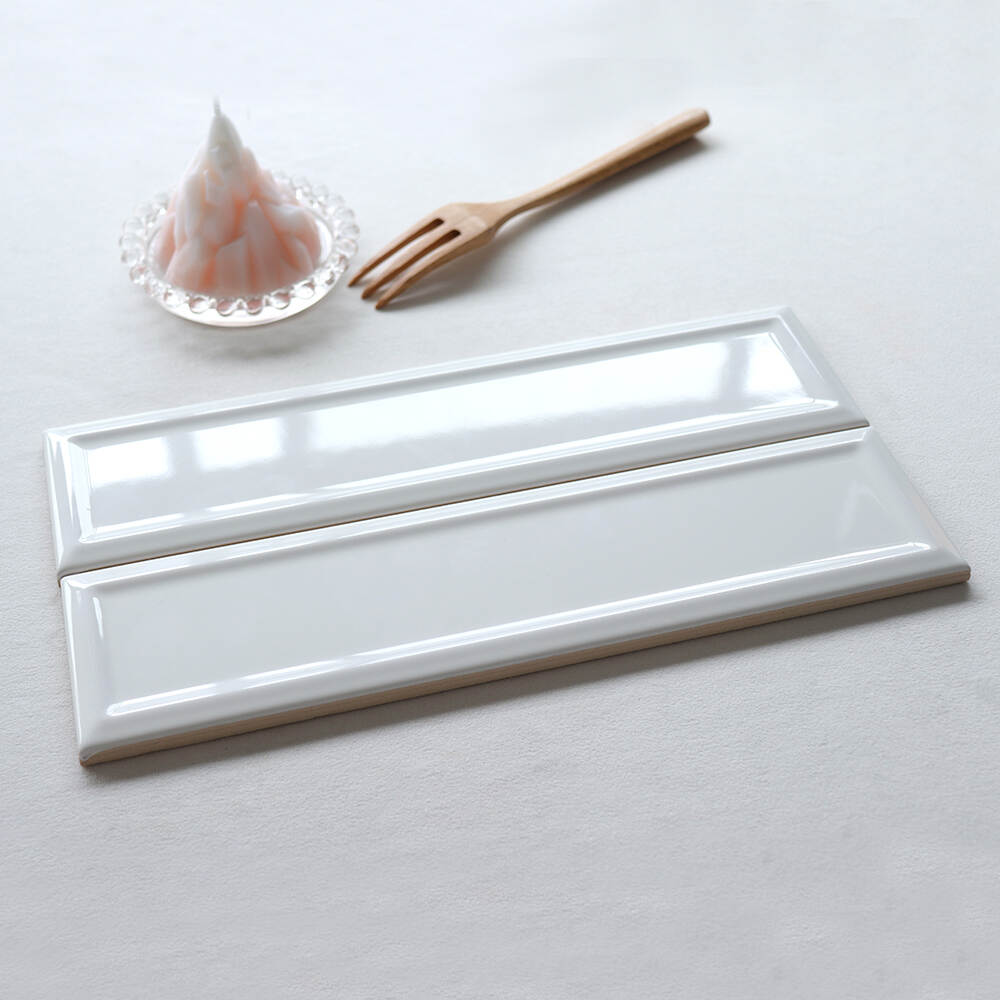
Embarking on a DIY tile installation project opens a world of creative possibilities, from the sleek allure of OEM glass floor tiles to the versatility of floor and wall tiles for sale. Whether you're envisioning a classic touch with white subway tile kitchen designs or exploring other innovative options, this step-by-step guide will empower beginners with the knowledge and confidence needed for a successful tile transformation.
I. Planning Your Tile Project
Before diving into the hands-on work, meticulous planning sets the stage for a seamless experience. Begin by exploring various types of tiles, including the elegance of OEM glass floor tiles, which offer a distinctive aesthetic and durability. Consider budget-friendly alternatives among the myriad options for floor and wall tiles for sale, ensuring your vision aligns with financial parameters. Accurate measurement techniques, a crucial step, apply equally to all tile varieties.
II. Gathering Tools and Materials
Equipping yourself with the right tools is fundamental to the success of your project. A reliable tile cutter, essential for any installation, ensures precision whether you're working with glass floor tiles or more traditional materials. Safety is paramount; don't forget protective gear like gloves and goggles. When selecting adhesives and grouts, explore the vast array of choices available, keeping in mind the specific demands of your chosen tiles.
III. Preparing the Surface
Understanding the nuances of your subfloor or wall is a crucial aspect that spans various domains, from construction to design. Address imperfections with finesse, appreciating the importance of a level surface. Cleaning and priming the substrate, a step informed by chemistry, ensures optimal bonding of adhesives, guaranteeing a lasting finish.
IV. Laying the Tiles
As you embark on the creative journey of laying tiles, artistry and engineering intertwine. Starting with a well-thought-out layout, akin to an artist's sketch, ensures a visually appealing result. Techniques for setting tiles vary, with considerations for different types, such as OEM glass floor tiles requiring a delicate touch. Spacers, the unsung heroes of tile installation, bring mathematical precision to the artistic process.
V. Cutting and Fitting Tiles
This phase delves into the craftsmanship of the installation process. Choosing between a tile cutter and a wet saw involves understanding the physics of each tool. Fitting tiles around obstacles combines geometry and ingenuity, creating a seamless flow in spaces like kitchens adorned with white subway tile designs.
VI. Grouting and Sealing
Selecting grout involves a keen eye for color and texture, blending elements of design and aesthetics. Proper grouting techniques, akin to fine craftsmanship, bring the entire project together. Sealing grout, a step informed by chemistry, adds a protective layer, ensuring longevity and resilience against wear.
VII. Cleaning Up and Final Inspections
The concluding phases involve both practicality and aesthetics. Cleaning surfaces demands attention to detail, as removing excess adhesive and grout requires precision. Final inspections, a blend of quality control and art appreciation, ensure a flawless finish.
VIII. Conclusion
In the realm of DIY tile installation, the convergence of creativity and technical know-how yields a rewarding experience. From the elegance of OEM glass floor tiles to the affordability of floor and wall tiles for sale and the timeless appeal of white subway tile kitchen designs, this guide intertwines diverse perspectives to empower beginners in their transformative journey. Celebrate your success and carry the newfound skills into future projects, each one a canvas for your evolving expertise.