

Elevate Your Bathroom Aesthetics with Subway Tile Walls
Introduction
In the realm of interior design, the bathroom is often overlooked. However, it is a space that deserves attention and can greatly impact the overall ambiance of a home or commercial establishment. One way to elevate the aesthetics of a bathroom is by incorporating subway tile on the walls. In this blog post, we will explore the ideal height for subway tile bathroom walls, provide creative ideas for subway tile designs, and guide you through the process of installing subway tile on bathroom walls.
Subway Tile Bathroom Wall Height
When it comes to determining the height of subway tile on bathroom walls, there are no hard-and-fast rules. However, there are a few considerations to keep in mind. Generally, subway tile is installed from the floor to the ceiling or up to a certain height, depending on personal preference and the overall design concept. Some popular options include:
Full Wall Coverage: Installing subway tile from the floor to the ceiling creates a seamless and visually appealing look. This option works well in bathrooms with high ceilings, as it accentuates the vertical space and adds a touch of elegance.
Half Wall Coverage: Subway tile can be installed halfway up the wall, typically at a height of 3–4 feet. This option is ideal for bathrooms with lower ceilings or for those who want to create a visual break between the tile and the upper wall, allowing for other design elements such as wallpaper or paint.
Creative Ideas for Subway Tile Bathroom Walls
Subway tile offers endless possibilities for creating unique and visually stunning bathroom walls. Here are a few ideas to inspire your design:
Herringbone Pattern: Install subway tiles in a herringbone pattern for a modern and sophisticated look. This pattern adds visual interest and can be achieved by arranging the tiles at a 45-degree angle.
Colourful Accents: Consider incorporating coloured subway tiles as accents to create a focal point or add a pop of colour to an otherwise neutral bathroom. For example, a row of vibrant blue subway tiles can be installed as a border or as a vertical stripe.
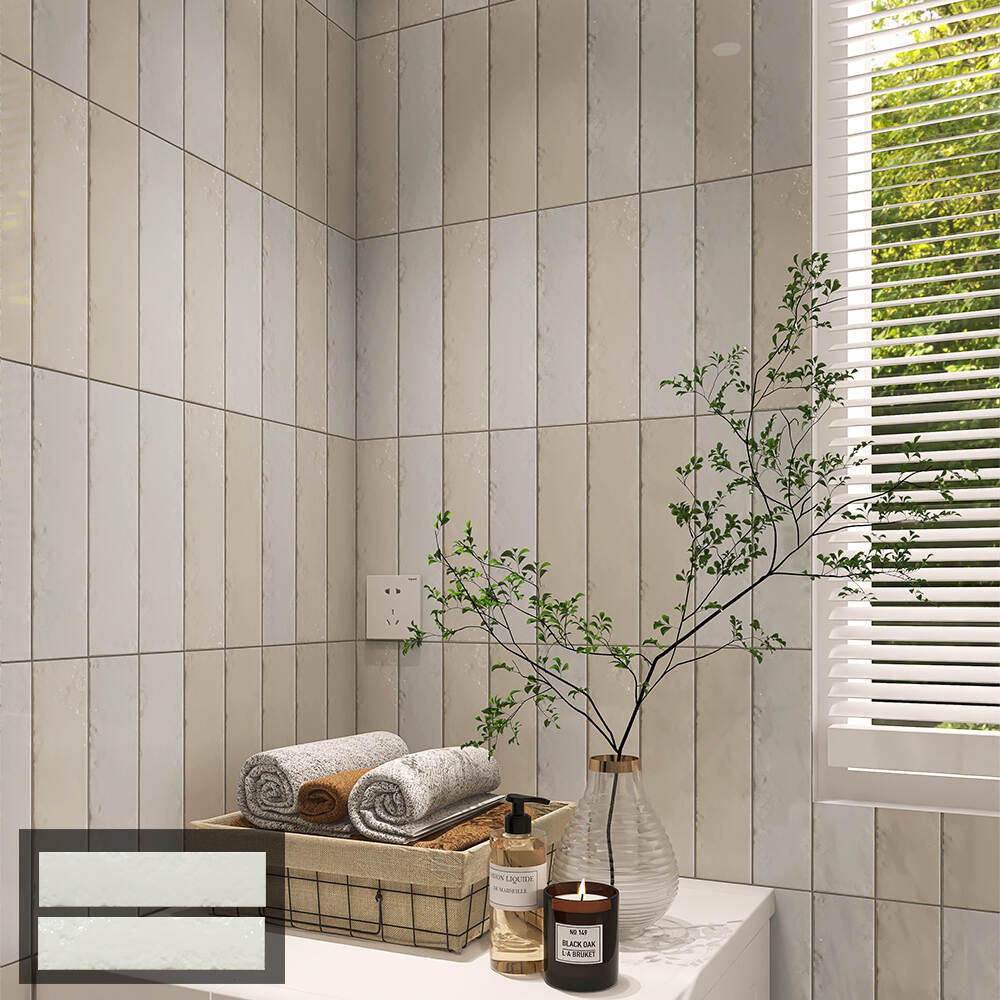
Vertical Stacking: Instead of the traditional horizontal layout, stack subway tiles vertically for a contemporary twist. This technique can make the bathroom appear taller and more spacious.
Installing Subway Tile on Bathroom Walls
Installing subway tile on bathroom walls is a relatively straightforward process. Here is a step-by-step guide to help you get started:
Step 1: Prepare the Surface: Ensure that the wall is clean, dry, and free from any debris. Repair any cracks or imperfections before proceeding.
Step 2: Measure and Plan: Measure the height and width of the wall to determine the number of tiles needed. Plan the layout, accounting for any cut tiles or design elements.
Step 3: Apply Adhesive: Use a notched trowel to apply tile adhesive to the wall. Start at the bottom and work your way up, applying the adhesive in small sections.
Step 4: Install the Tiles: Press each subway tile firmly into the adhesive, using tile spacers to maintain consistent spacing between tiles. Continue until the entire wall is covered.
Step 5: Grout the Tiles: After the adhesive has dried, remove the tile spacers and apply grout using a grout float. Wipe away any excess grout with a damp sponge.
Step 6: Finishing Touches: Allow the grout to dry completely before applying a grout sealer. Finally, clean the tiles to remove any grout residue, and admire your newly installed subway tile bathroom walls.
Conclusion
Subway tile is a versatile and timeless choice for bathroom walls. By considering the ideal height, exploring creative design ideas, and following the installation process, you can transform your bathroom into a stylish and inviting space. Elevate your bathroom aesthetics with subway tile walls and impress your business partners with your attention to detail and design sensibilities.